 Remodeled AI
Mastering Virtual Staging with Remodeled AI
Published Jun 20, 2024
Welcome to Remodeled AI! Transform your spaces with our state-of-the-art virtual staging feature. This comprehensive guide will walk you through each step of the process, ensuring you can effortlessly create your dream room.
Step 1: Upload Your Room Image
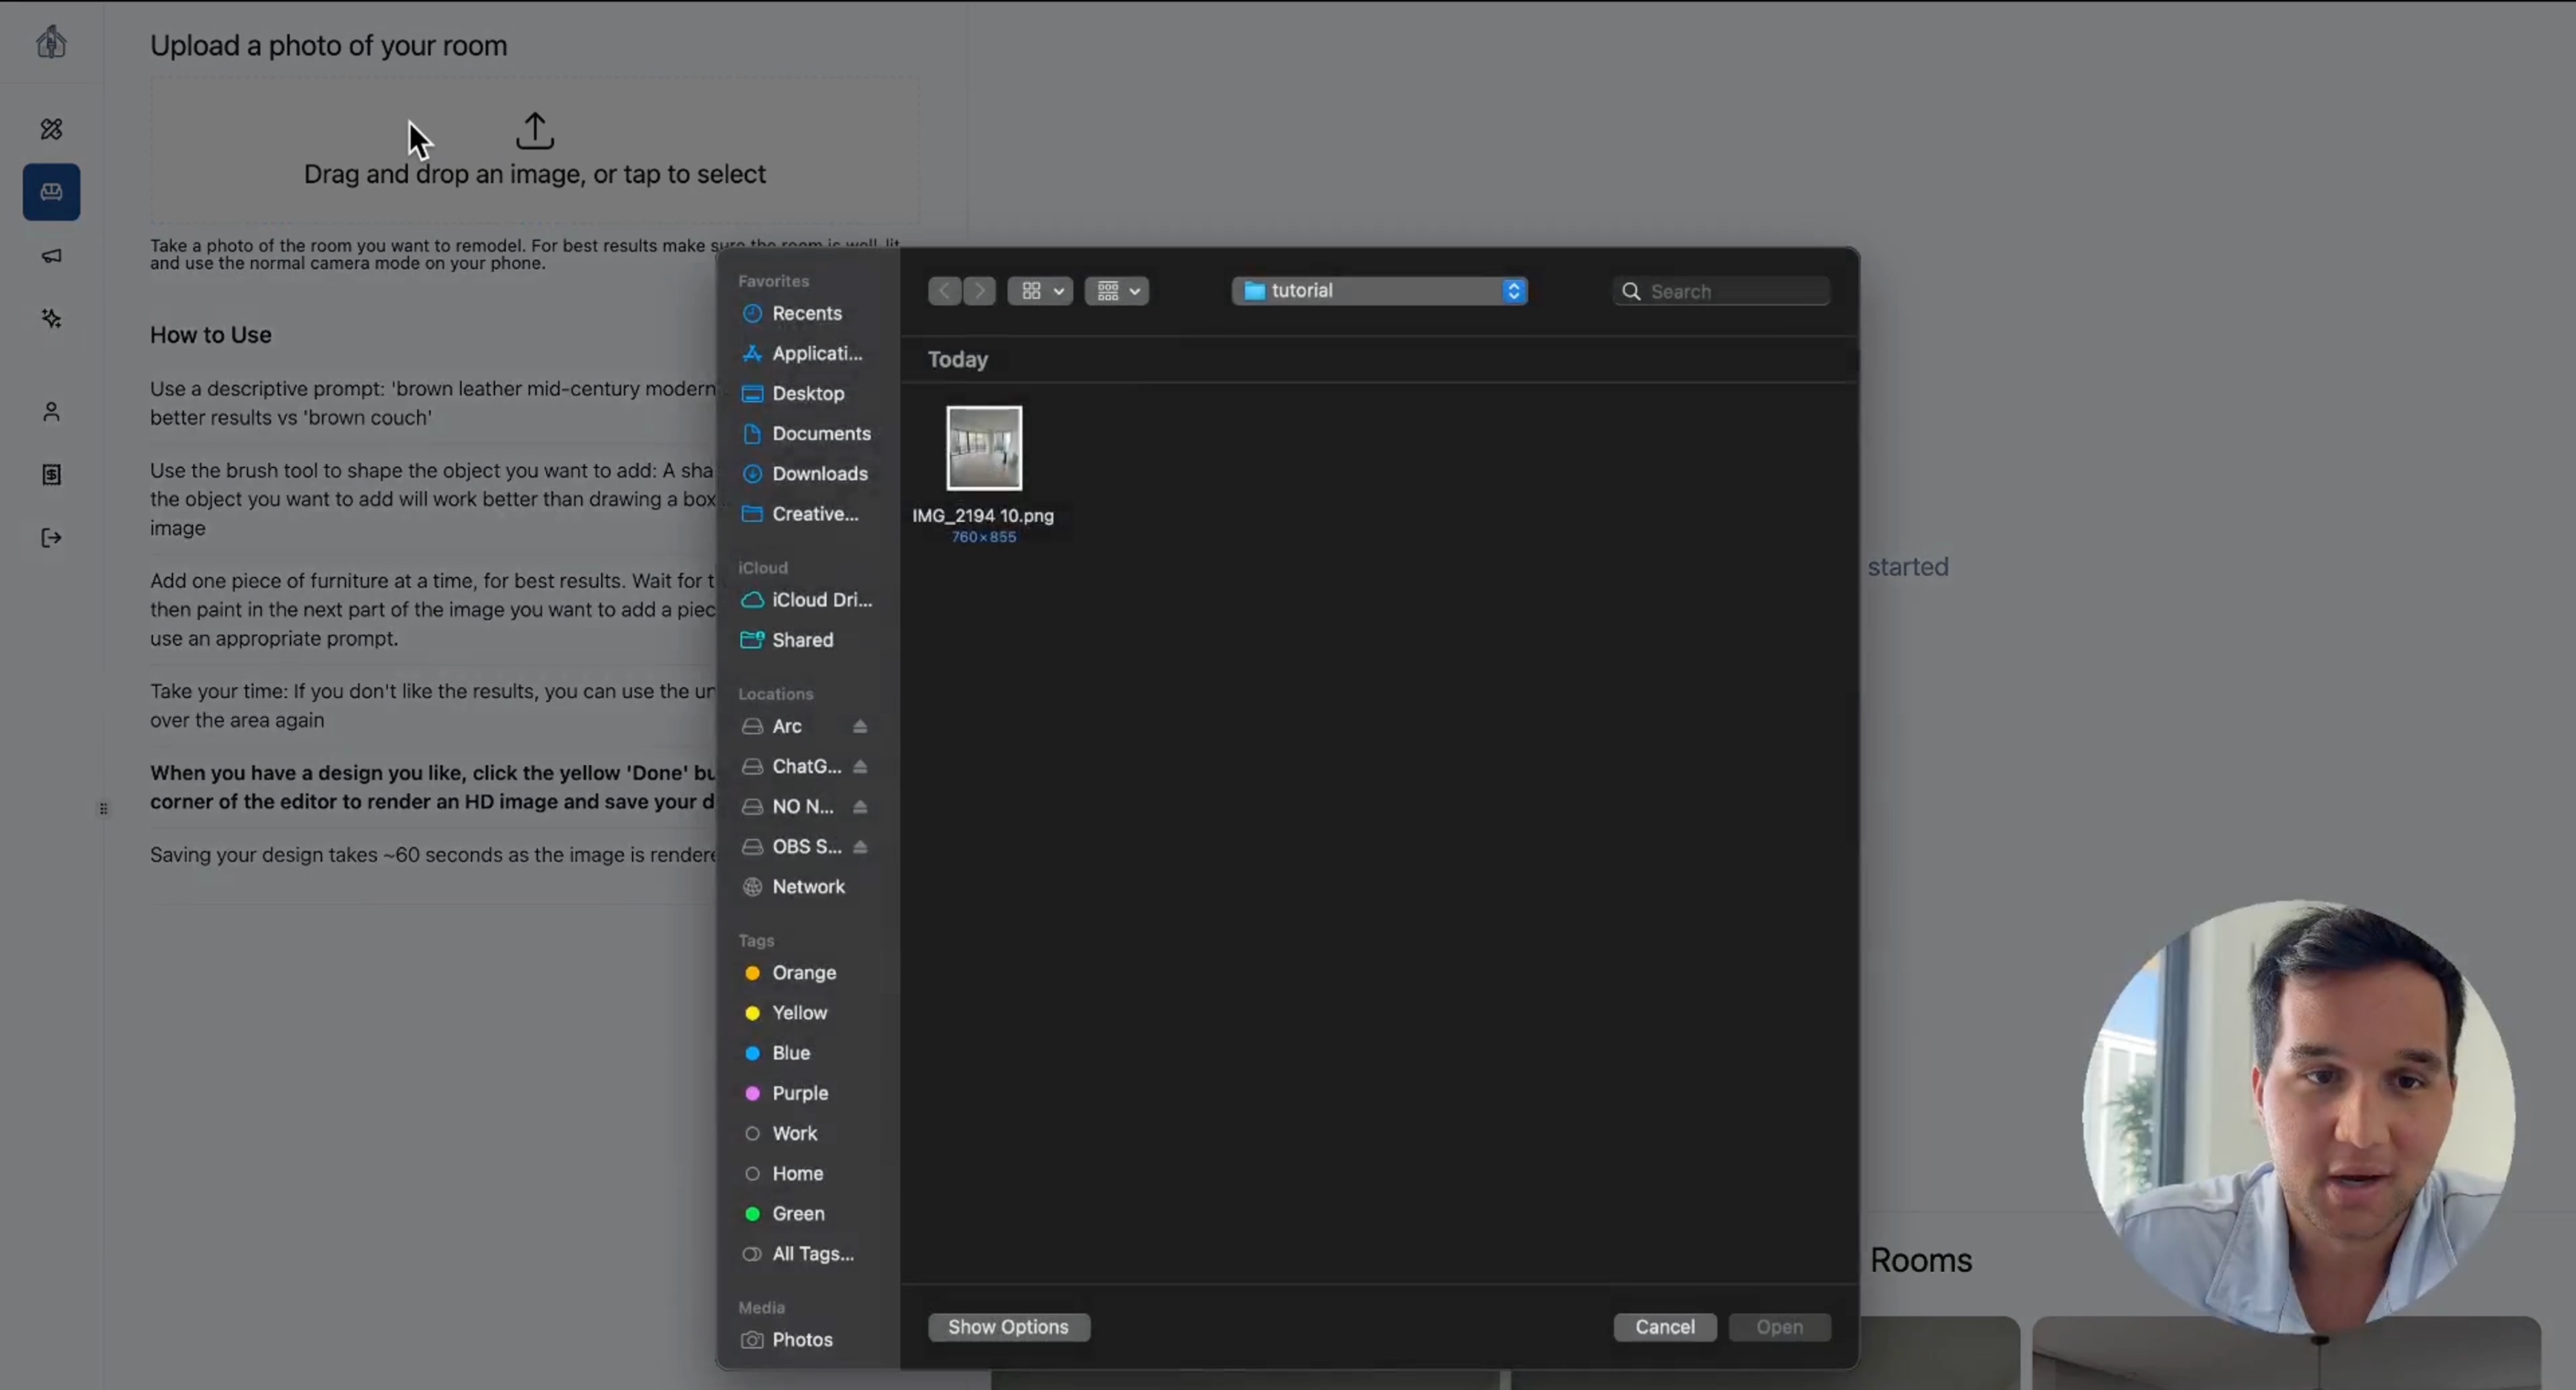
Begin your staging journey by uploading an image of the room you wish to transform. Navigate to the staging option in the sidebar. You can either click to select an image from your device or drag and drop it into the designated area. Once uploaded, your image will appear in the editor on the right, ready for enhancement.
Step 2: Utilize Precision Editing Tools
To achieve a polished and realistic look, make use of our precision editing tools.
Brush Sizes

Adjust the brush size to match your needs. Opt for a smaller brush for detailed work and a broader brush for larger areas.
Lasso Tool

The lasso tool allows for freeform selection around the area you want to edit, offering precision for intricate details.
Square and Circular Tools
For more structured edits, use the square tool for rectangular shapes and the circular tool for round items, ensuring clean and consistent results.
Step 3: Add Furniture
Enhance your room by adding stylish furniture.
Select the Brush Tool
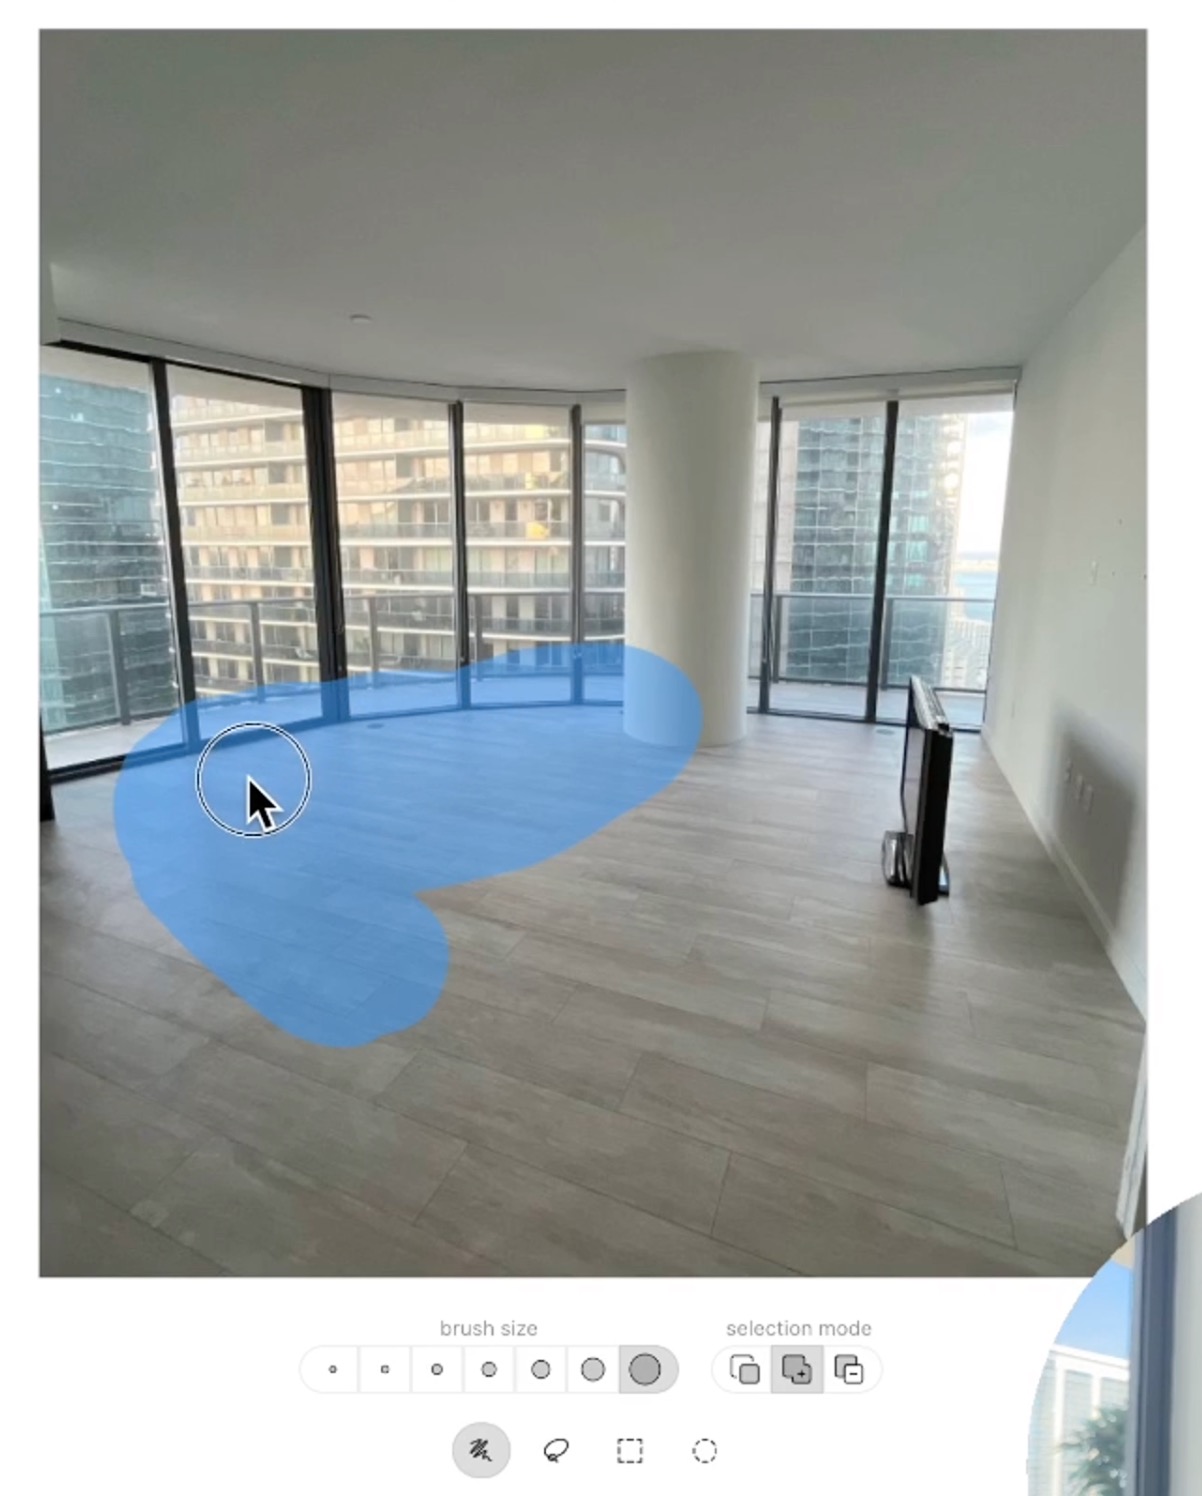
Choose the brush tool to draw the shape of the furniture you wish to add. Include some background context to help Remodeled AI seamlessly integrate the new item.
Describe Your Item
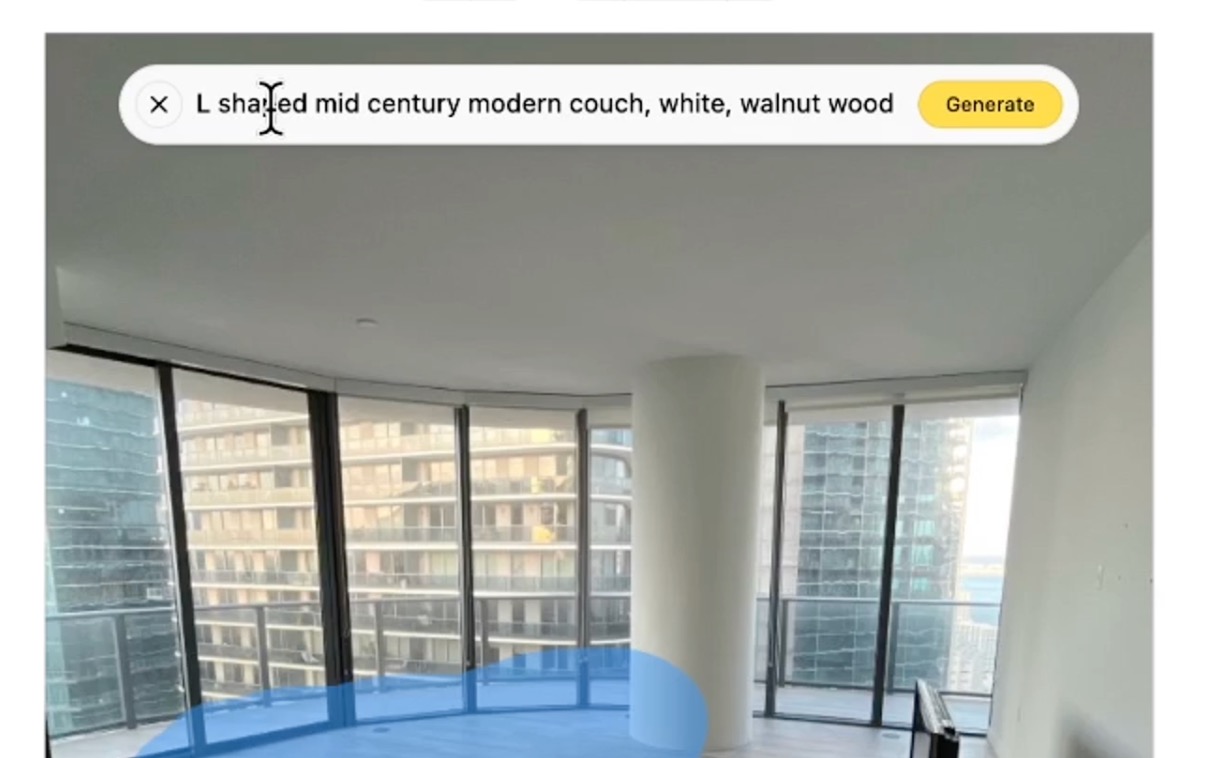
Provide a detailed description of the furniture. For instance, specify an “L-shaped mid-century modern couch” with details on color and materials.
Generate Your Item
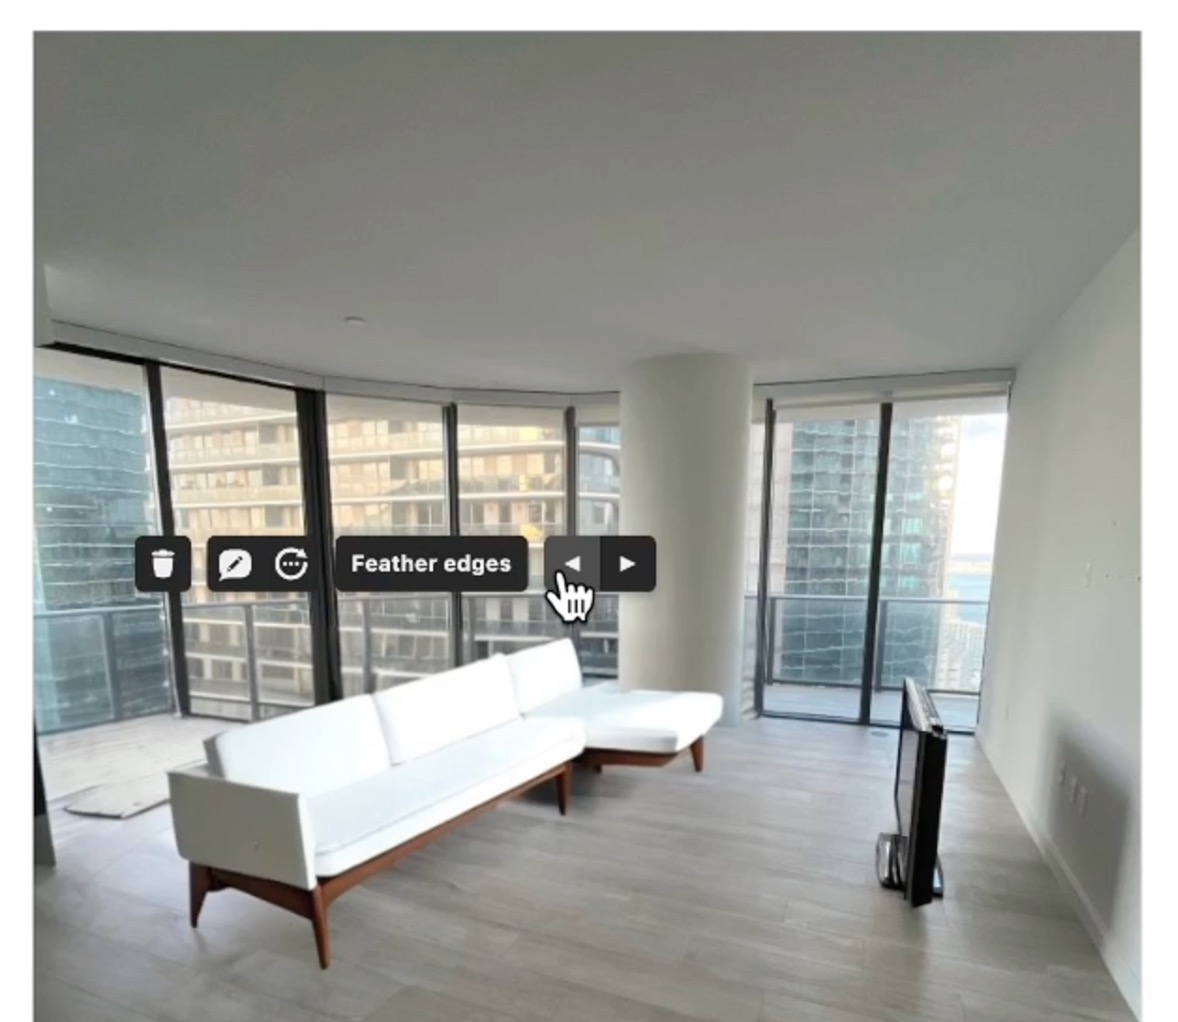
Click the generate button, and Remodeled AI will present several options. Select the one that best complements your room’s design.
Step 4: Remove Unwanted Items
Easily remove items that don’t fit your vision.
Use the Clean Feature
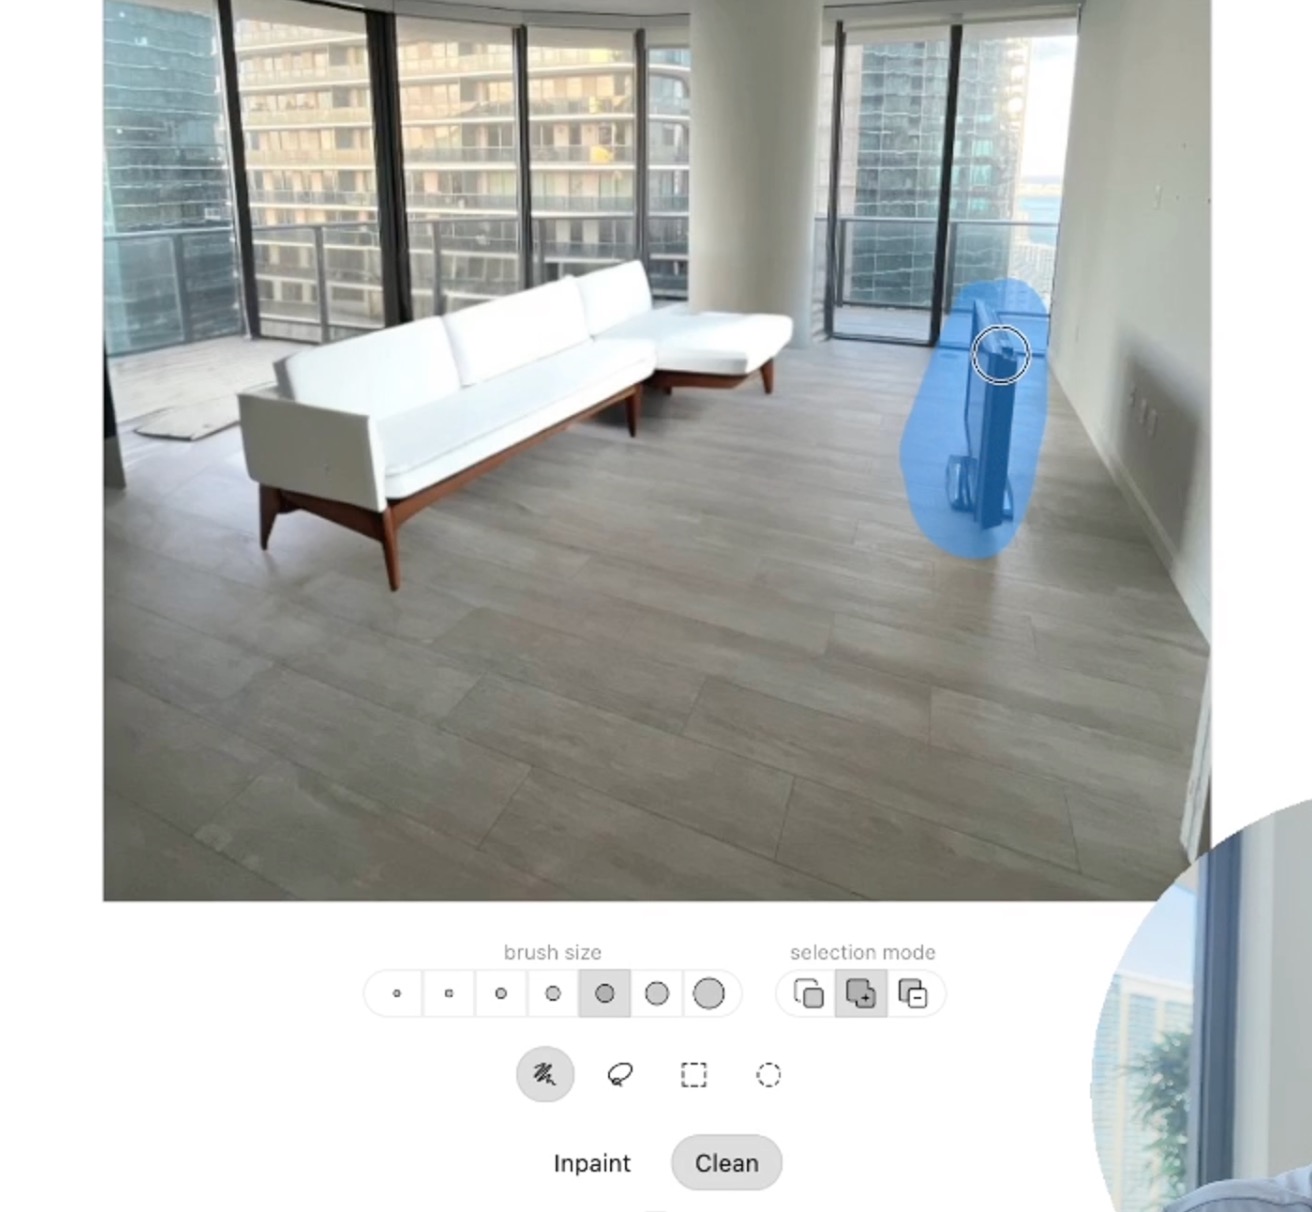
Highlight the item you want to remove, such as a TV on the floor. Ensure you include some background context. Remodeled AI will remove the item, making space for new additions.

Step 5: Add New Items
Incorporate new items into your room with the in-paint option.
Use the In-Paint Option
Draw the shape of the new item, like an HDTV on the wall, and provide a detailed description. Generate the item and choose the best option from the selections provided.
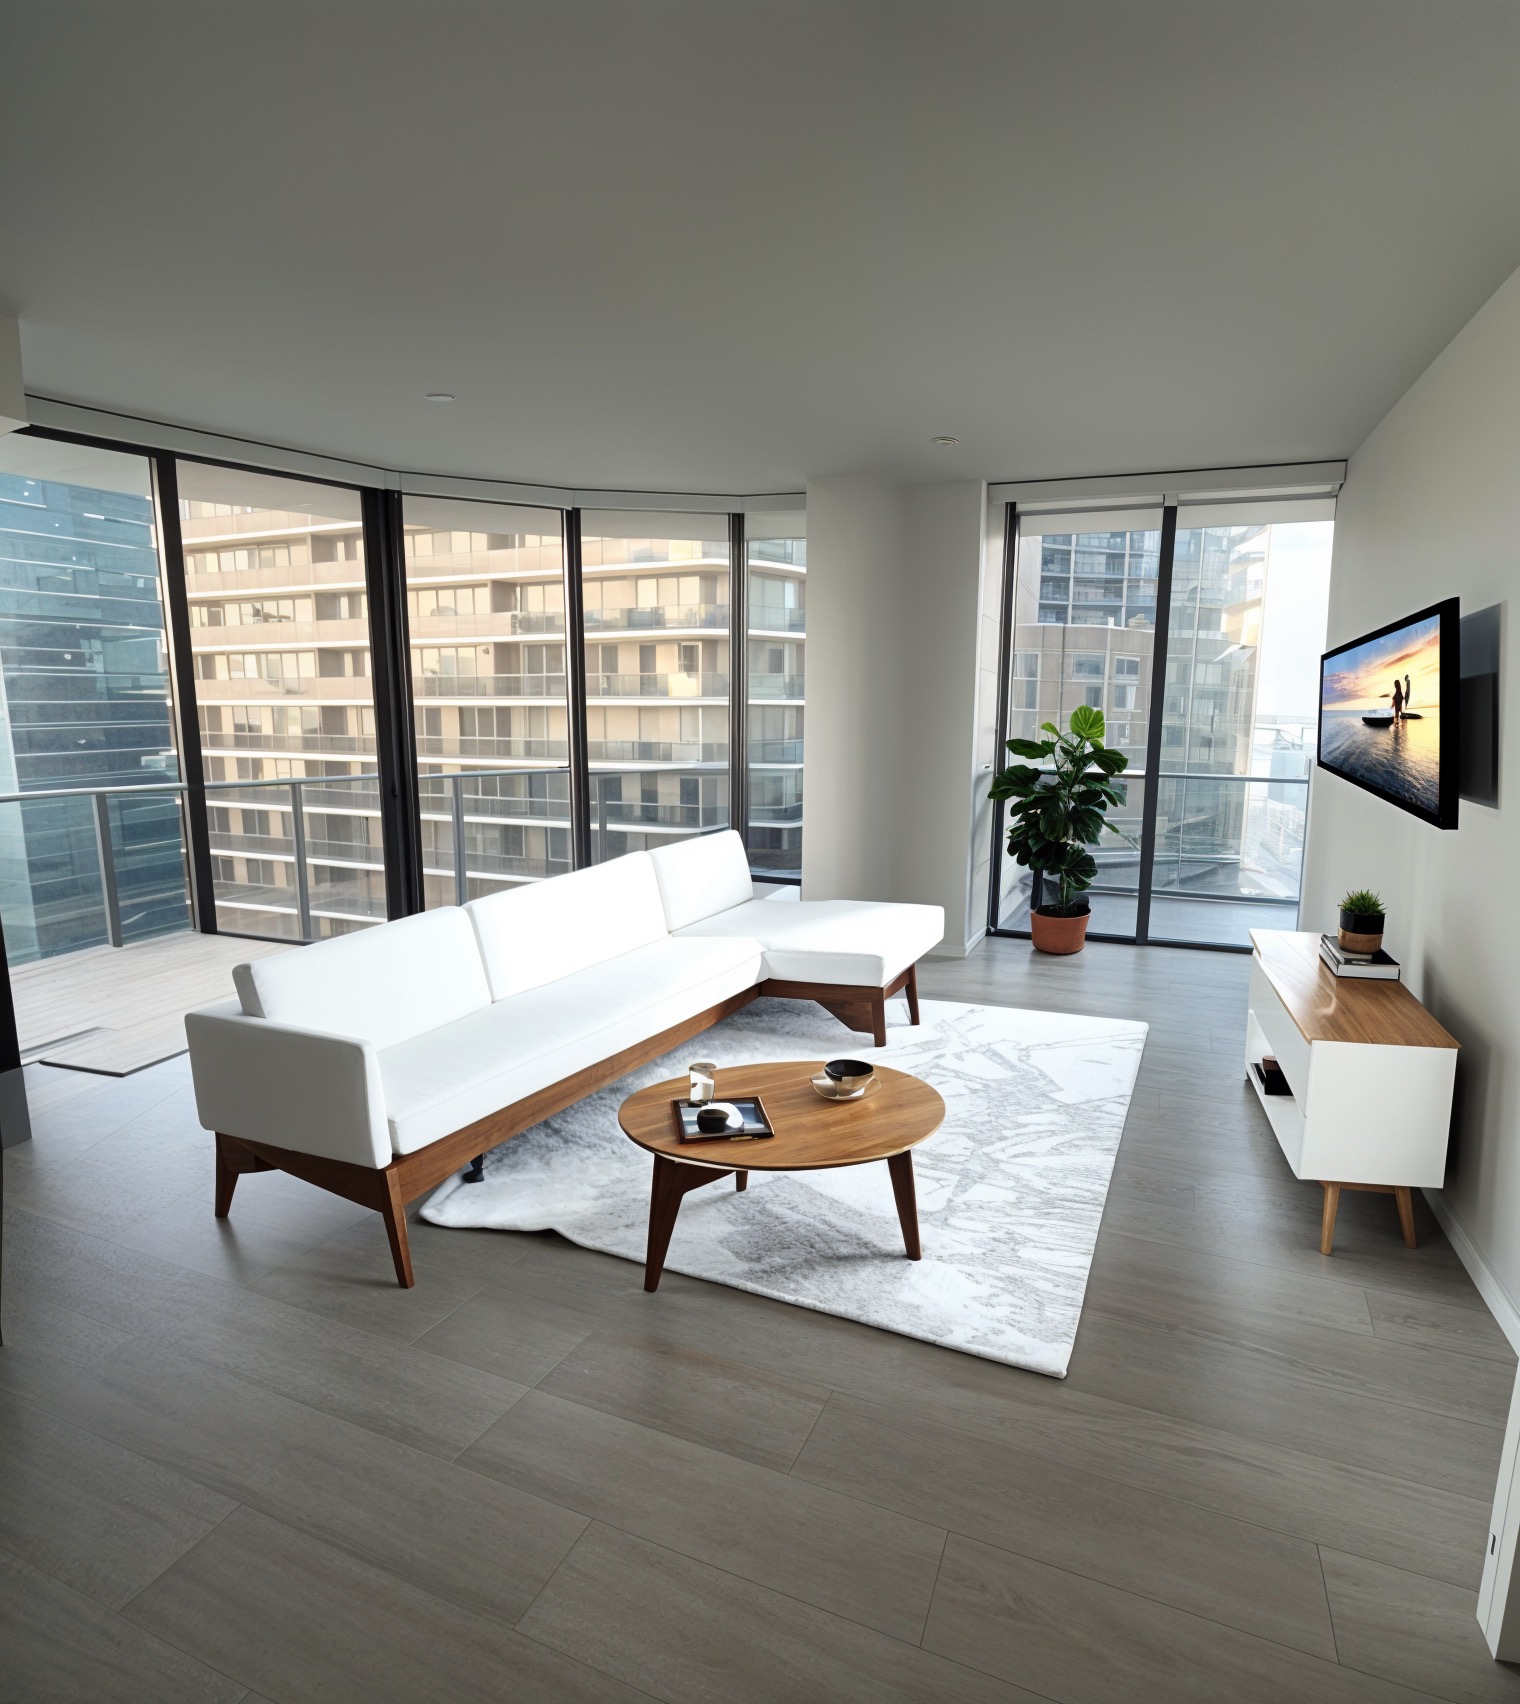
Step 6: Finalize and Upscale
Complete your design and ensure it’s saved in high definition.
Finalize Your Room
Add finishing touches such as a coffee table, plants, or rugs. Once satisfied, click the done button to upscale the image, ensuring the highest possible quality.
Save Your Work
Your newly staged room will be saved in the recently generated rooms section in HD, ready to be shared and admired.
Virtual staging with Remodeled AI offers endless customization options, allowing you to create the perfect space. If you have any questions, please contact us via the information at the bottom of our webpage. Thank you for choosing Remodeled AI!